Firmware (ESPhome)
ESPhome
Previously I have been using tht ESPeasy approach until I discovered ESPhome. It seems easier when integrating with Home Assistant. It does not require any MQTT broker as it uses a dedicated ESPhome integration.
Please follow the ESPhome guide and get started with your ESPhome devices:
- install the addon within your Home Assistant
- connect your ESP8266/ESP32 device via USB to your computer
- visit Projects and flash ESPhome firmware on your ESP8266/ESP32 board from the browser
- now you will be able connect your device to Home Assistant
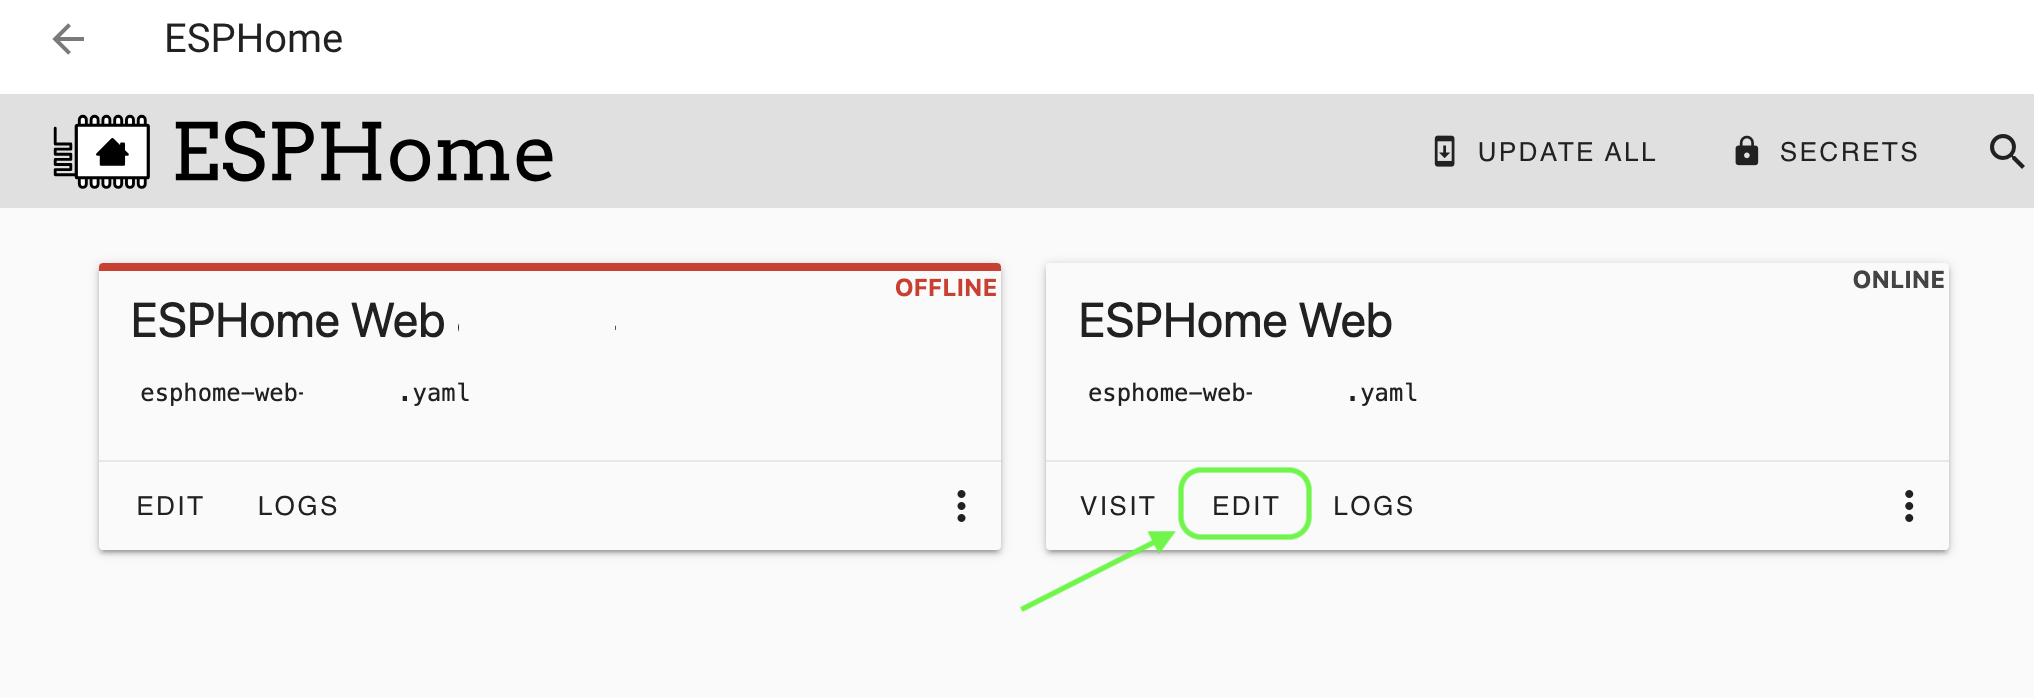
Once your ESPhome dashboard is installed as an addon in your Home Assistant, you will be able to upload the following config to enable your dustsensor.
Top part of your config should begin with something like this (do not repaste it!)
esphome:
  name: esphome-web-XXXXXX
  friendly_name: ESPHome Web XXXXXX

esp8266:
  board: esp01_XXXXXXX

# Enable logging
logger:

# Enable Home Assistant API
api:
  encryption:
    key: "XXXXXXXX"

ota:


wifi:
  ssid: !secret wifi_ssid
  password: !secret wifi_password

  # Enable fallback hotspot (captive portal) in case wifi connection fails
  ap:
    ssid: "SSID-XXXXXXX"
    password: "PASS-XXXX"

captive_portal:
Before we move to the next step, please copy your *.ttf fonts into config/esphome. Due to licensing reasons, ESPhome is not providing fonts and you need to download them manually.
Now paste this part just below existing config.
# Makes the sensor usable over http
web_server:
  local: true

# Syncs time from home assistant
time:
  - platform: homeassistant
    id: esptime

# Defines fonts
font:
  - file: "arial.ttf"
    id: arial
    size: 12

uart:
  rx_pin: GPIO14
  tx_pin: GPIO12
  baud_rate: 9600

sensor:
  - platform: sds011
    pm_2_5:
      name: "ESPHome PM <2.5µm"
      id: "pm25"
    pm_10_0:
      name: "ESPHome PM <10.0µm"
      id: "pm10"
    update_interval: 20min

  - platform: dht
    model: DHT22
    pin: GPIO13
    temperature:
      name: "ESPHome Temperature"
      id: "temp"
    humidity:
      name: "ESPHome Humidity"
      id: "hum"
    update_interval: 5min

i2c:
  sda: GPIO5
  scl: GPIO4
  frequency: 400kHz # Missing this causes "Component display took a long time for an operation"
  scan: false

display:
  - platform: ssd1306_i2c
    model: "SSD1306 128x64"
    # reset_pin: D0
    rotation: 180
    contrast: 100%
    address: 0x3C
    lambda: |-
      if(id(temp).has_state()){
        it.printf(0, 0, id(arial), "Temperature: %.1f °C", id(temp).state);
      }
      else {
        it.print(0, 0, id(arial), "Temperature loading");
      }

      if(id(hum).has_state()){
        it.printf(0, 16, id(arial), "Humidity: %.1f %s", id(hum).state, "%");
      }
      else {
        it.print(0, 16, id(arial), "Humidity loading...");
      }

      if(id(pm25).has_state() and id(pm10).has_state()){
        it.printf(0, 32, id(arial), "PM2.5: %.1f PM10: %.1f", id(pm25).state, id(pm10).state);
      }
      else{
        it.print(0, 32, id(arial), "PM loading...");
      }

      it.strftime(0, 48, id(arial), "%Y-%m-%d %H:%M", id(esptime).now());
From now your readouts will be available in 3 places:
- within HomeAssistant (as sensors)
- on the local page
- on the OLED display